
In this section, we’ll concentrate on the construction techniques you will use to build the actuated skeltons that go inside your animatronic figures. We will be building these skeletons from 1/16” aluminum. This is a metal which is strong, light and easy to machine with simple hand tools. Remember to wear appropriate eye protection when using tools!
Aluminum
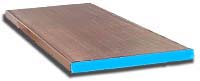 The aluminum we will be using is all 1/16” thick, but comes in a variety of shapes. These include flat, angle, T and channel. As you might imagine, flat pieces are rather wobbly in the thin dimension but not in the thick. That makes them easy to bend which is useful for making curved parts of your skeleton.
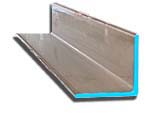
Angle, T and channel pieces are basically combinations of flat pieces at right angles. This gives them strength in all dimensions with minimal weight. (I-beams are based off of the same idea.) These are very hard to bend and will be used anywhere we want a stiff support.
Nibbling
Nibbling does not mean that you should try to chew your Aluminum! It refers to the use of a tool called a “nibbler” which takes a series of tiny little bites out of a thin material in order to make a cut.
There are a number of different types of nibblers. We will be using two different hand nibblers – a Klein Tools 76011b Nibbler and a Bessey D23 Nibbler.
 To use the Klein Nibbler, you simply push the material under the nibbling bit, and close the handle to take a small bite. Opening the handle opens the jaw allowing you to further insert the material for the next nibble. You can easily turn the tool to nibble in a different direction, allowing you to make perfectly sharp 90 degree turns. The best feature of the Klein nibbler is that the small nibbling head can be inserted through a drilled hole, allowing you to make inside cuts. So if you need to make a square or other odd shaped hole, you start by making a round hole big enough to fit the nibbler, and then shape as desired.
 The Bessey D23 is not quite so versatile, but it is a bit easier to use. It is almost like a pair of scissors for thin Aluminum. It does not make turns very well, but it probably is quicker for straight cuts. If you close the handles all the way, the Bessey nibbler will completely bite off a small piece, similar to the Klein nibbler. However, if you are cutting a long line, it is better to make a partial cut. The Aluminum will then collect in a little roll as you cut. A key feature of the Bessey nibbler is that it can easily cut straight through angles in our 1/16” Aluminum.
I recently found that the Harbor Freight Compact Hand Nibbler (a cheaper version of the Bessey D23) also works quite well for making straight cuts.
Cutting
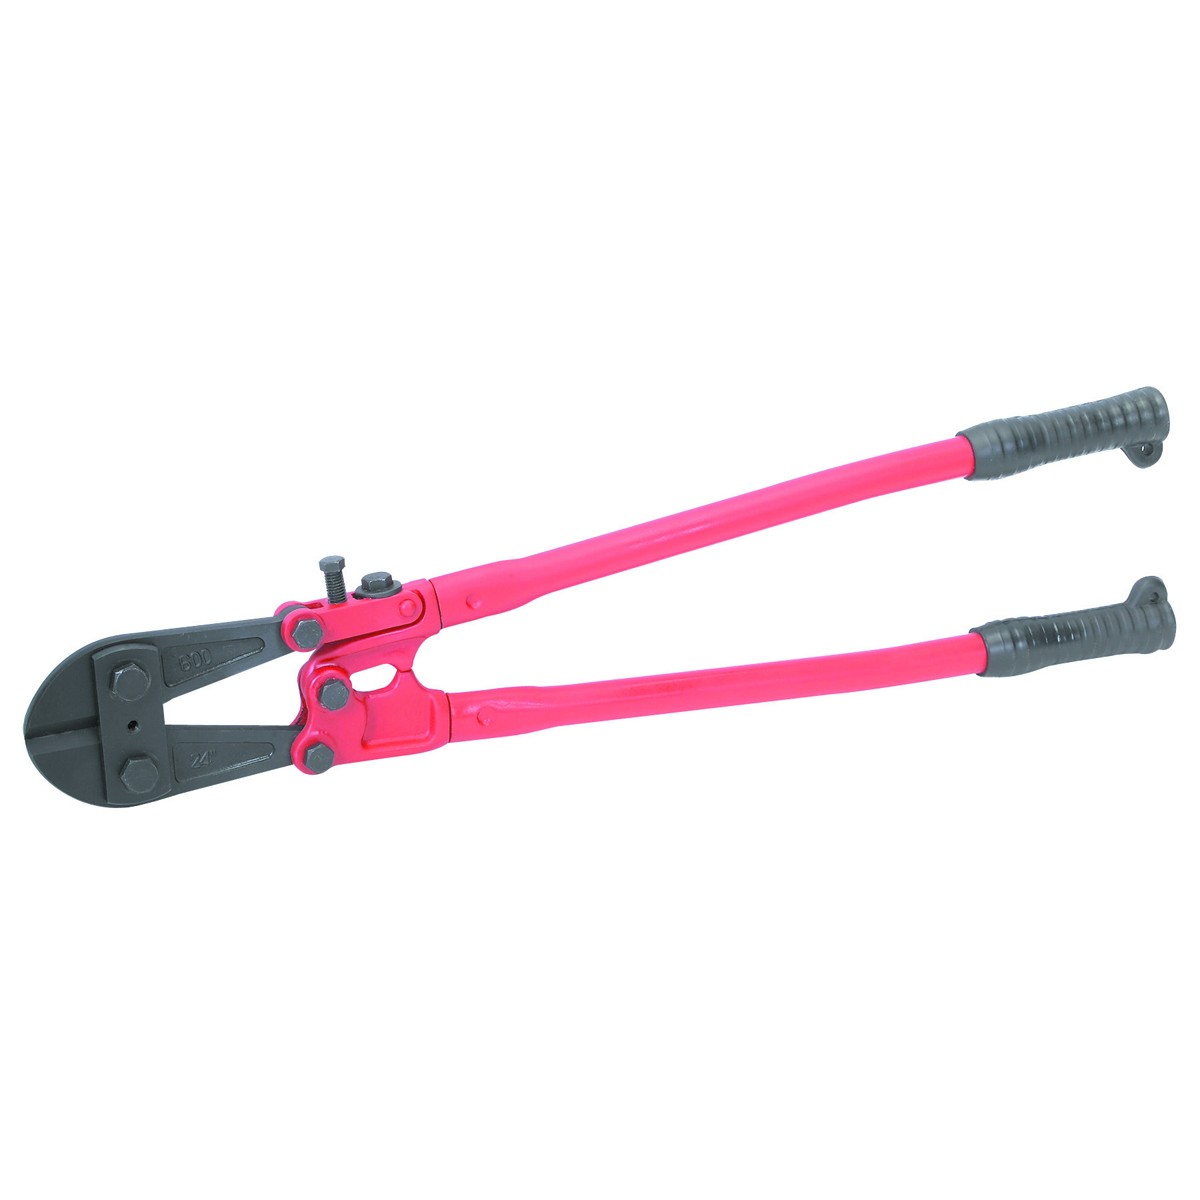 In addition to nibblers, there are lots of different tools we can use to cut our 1/16″ Aluminum. Probably the quickest and easiest is to use a pair of bolt cutters. This even works reasonably for angle pieces – just do a cut on each side, break the middle, and use a file to clean it up. I find that 24″ cutters typical work well on stock up to 1″ in width.
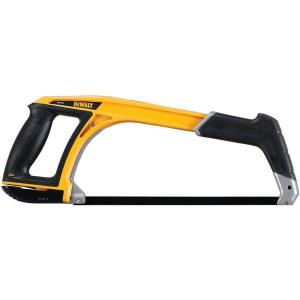 For channel ALuminum, the best option is to use a hacksaw. Notice that the teeth on a hacksaw face forward, so the cutting happens on the forward stroke. You should not be applying pressure on the backstroke. (Read that again. This is the single most common mistake.) The first step is to properly clamp the work piece in a vise so that the cut is as close to the vise as practical. You should be very slow and deliberate with the first few strokes to make sure they are in exactly the right place. Once you have the cut started, the blade will tend to follow the first cuts.
Filing
![]() Once you have cut a piece, you will often find that the edges are rather sharp. These sharp edges can easily be filed away in a few seconds. Like hacksaws, files are designed to cut on the forward stroke. The quickest way to clog a file is to run it back and forth over a work piece with equal pressure. Once it is clogged, it will not cut again until you clean it with a wire brush. The moral of this story is to only file in the forward direction.
Once you have cut a piece, you will often find that the edges are rather sharp. These sharp edges can easily be filed away in a few seconds. Like hacksaws, files are designed to cut on the forward stroke. The quickest way to clog a file is to run it back and forth over a work piece with equal pressure. Once it is clogged, it will not cut again until you clean it with a wire brush. The moral of this story is to only file in the forward direction.
Punching
 A better alternative to drilling holes in thin metals is to use a punch. If you’ve used paper hole punchers, these are pretty much the same idea, except that they are much stronger. In fact, the punch that we will be using can generate 1.2 tons of force!
We will be using a Roper Whitney No. 5 Jr. which makes it easy to make nearly perfect holes in 1/16” Aluminum. The kit includes a set of punches and matching dies to make holes ranging from 3/32” to 9/32” in 1/32” steps. The terminology is a little confusing because the punch tool is commonly referred to as a “punch”, and the little pieces that actually go through the metal are also called “punches”. A die is the matching hole that the punches go into to complete the cut.
We will be using the sizes that give good clearance for our standard screw sizes. Here’s a small table:
Screw – Punch
#6 – 5/32”
#4 – 1/8”
#2 – 3/32”
When using the punch, adjust the die so it sits as low as possible in the tool. You will find this makes the punch significantly easier to operate.
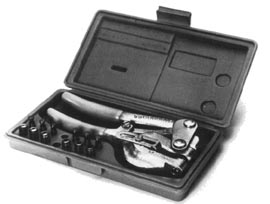
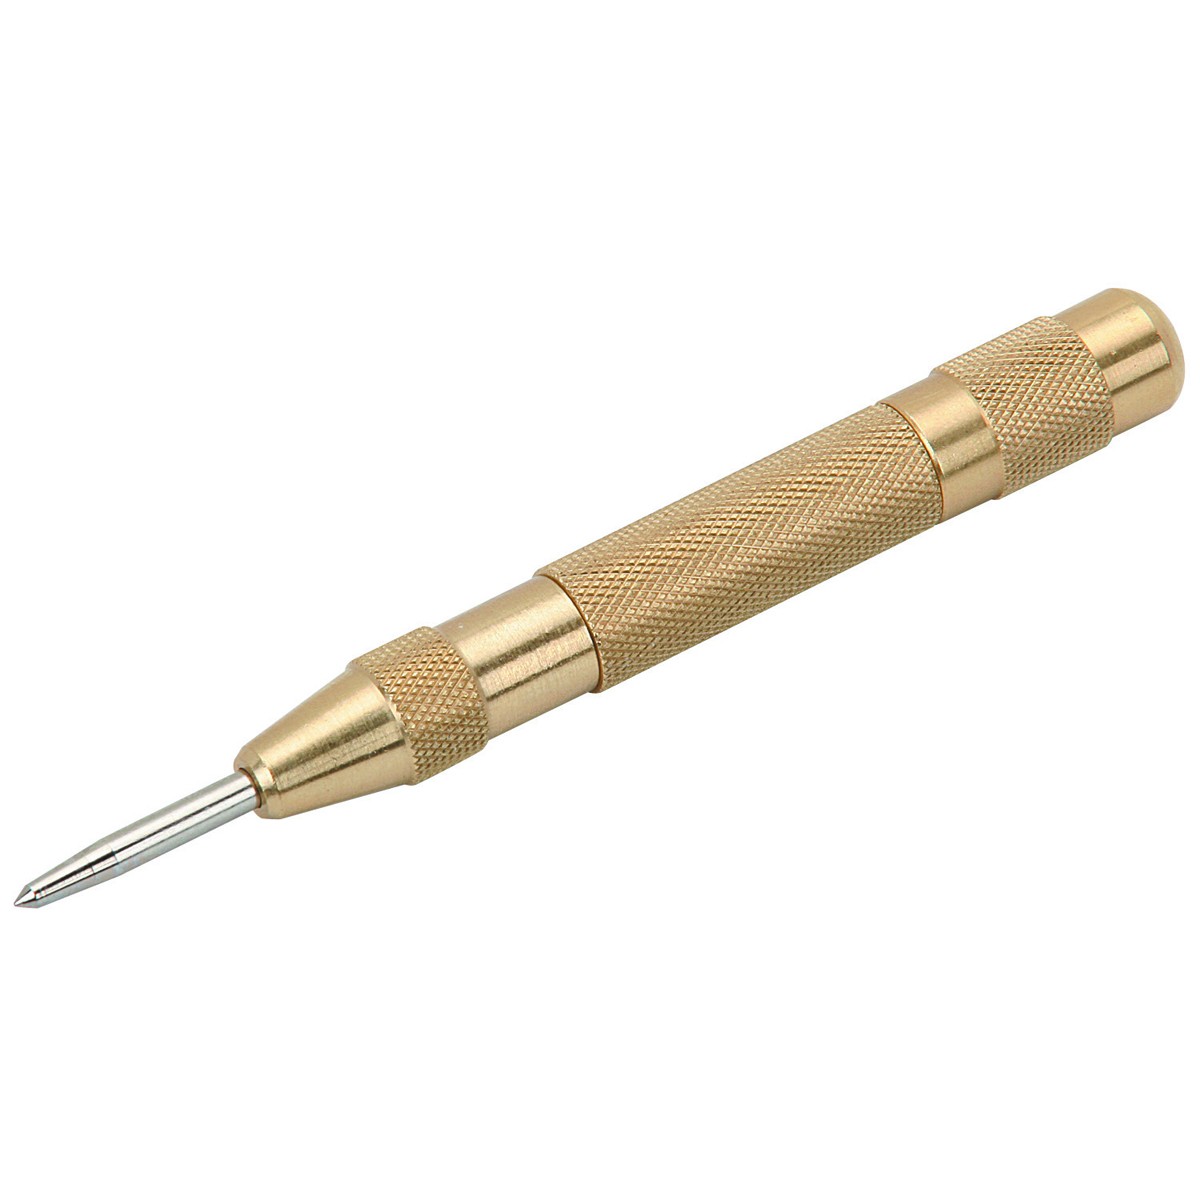 If you look closely, you will see that punches have a tiny, sharp point at their center. This grabs the work piece so that it doesn’t slip around during the punch. It also is very useful for precisely locating the punch. As redundant as it may sound, if you first use a center punch to indent the location, then you will be able to “feel” the divot with the point on the punch. You will find that it is very difficult to precisely line up the hand punch with just a pencil mark. Using a center punch will let you easily make precise punches every time. I recommend using an automatic center punch. These have an internal spring-loaded weight that creates the impact so you don’t need a hammer. You simply push down until the mechanism suddenly releases.
There are a couple of things to keep in mind about punches and dies. They are made of hard metals, which means that they can shatter if dropped on a hard surface. (This is true of many cutting tools!) Also, punches are not nibblers. If you attempt to punch a partial hole, the uneven force tends to bend the punch to one side. If this happens, it may hit on the die rather than going through it, possibly destroying both the punch and the die.
A final word of caution: There are a number of cheap knock-off punch sets out there for less than a third the price of the Roper Whitney set. I tried one and was severely disappointed. A punch is one tool where precision machining makes a world of difference.
Reaming
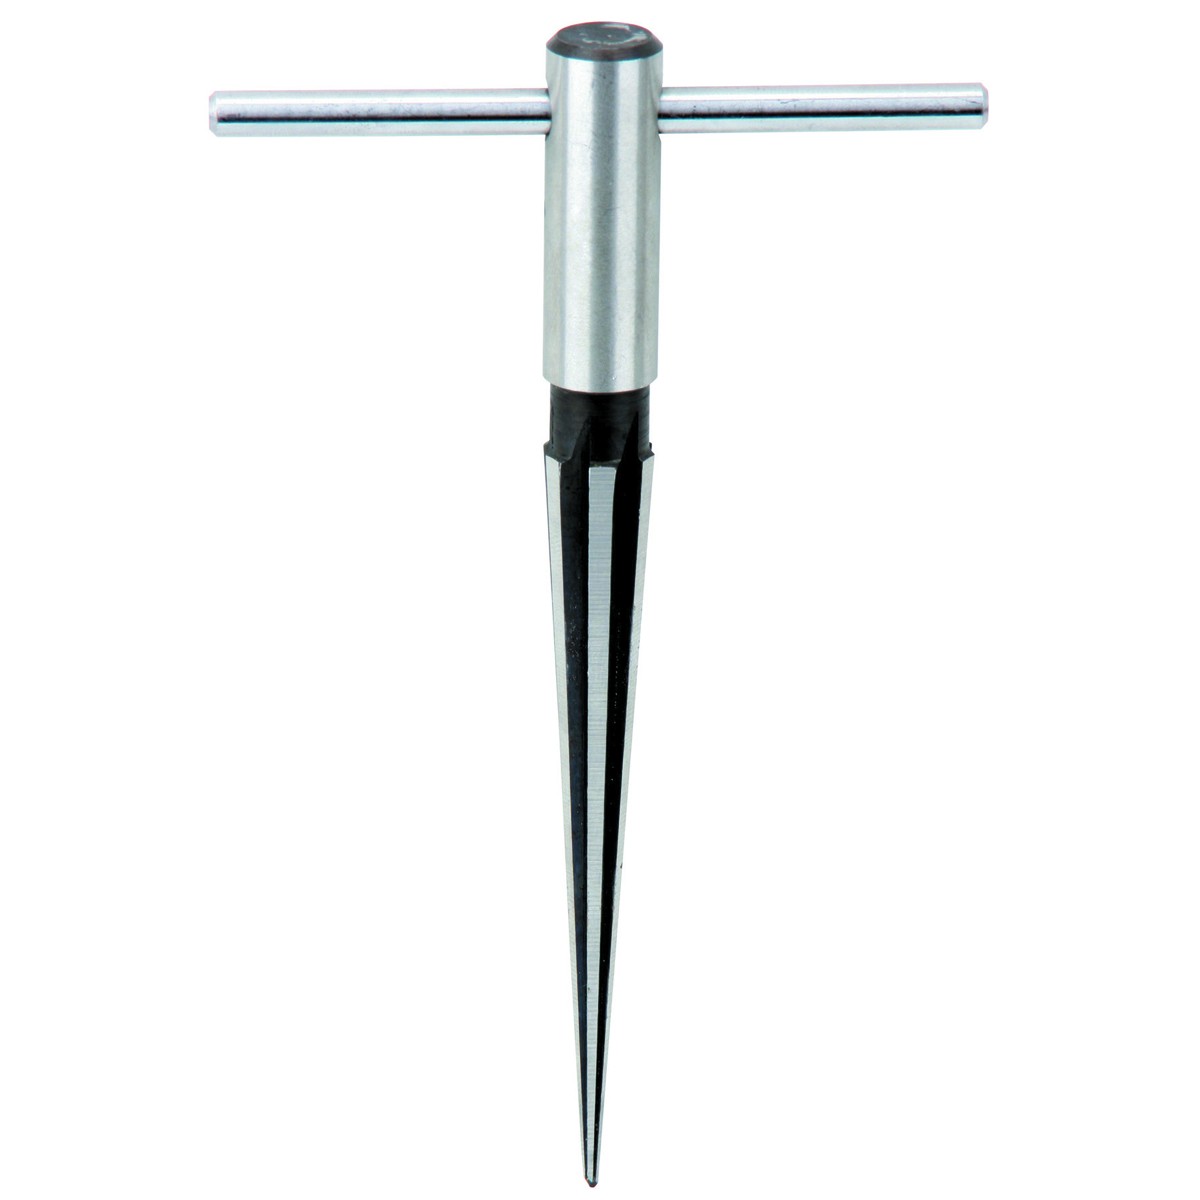
Sometimes you want a hole that is a different size than what you can get with a punch. In these cases, you can use a reamer to quickly widen a hole. These work very well.
Here’s a quick tip: if you have a T-handle reamer, you might find that the handle keeps falling out. An easy fix is to wrap a rubber band tightly back and forth from the two ends to hold it in place.
Drilling
Given the hand punch and a reamer, you should almost never need to drill a hole in Aluminum. However, if you do choose to do this, here are some quick tips.
You MUST clamp your work piece. If the drill catches on a thin piece of aluminum, that piece can begin to rotate and act like a cutting blade. Use a drill vise to hold the piece in place.
Drill speeds should be set much lower than for wood. Use the lowest speed setting you can get on your drill. If you are drilling small holes into 1/16” aluminum you can get away without coolant. But if you are drilling into a thicker or stronger metal and the bit starts getting hot, you probably need coolant. This won’t come up for us, but it’s good to know.
Always use a center punch to mark the center of the hole you wish to drill. This will help keep the drill bit from wandering.
 Making large holes in thin materials can be particularly challenging because they tend to catch and break or rip. A classic solution is to drill a small hole, and then drill it out with progressively larger drills. Step drills accomplish this in one operation.
Bending
There are lots of good ways of bending metal, especially 1/16” Aluminum. You will find that you can make gentle bends easily in flat stock with your bare hands. Make sure you have filed off any sharp corners first! A simple trick is to bend around a form. For example, I like to bend against pieces of pipe to make nice curves.
When you need to make a sharp bend, you have a number of choices. Usually I simply place the piece in a vise, and bend over the part sticking out. If you are bending small pieces, it helps to do the bends before cutting off the excess material that can serve as a handle to give leverage.
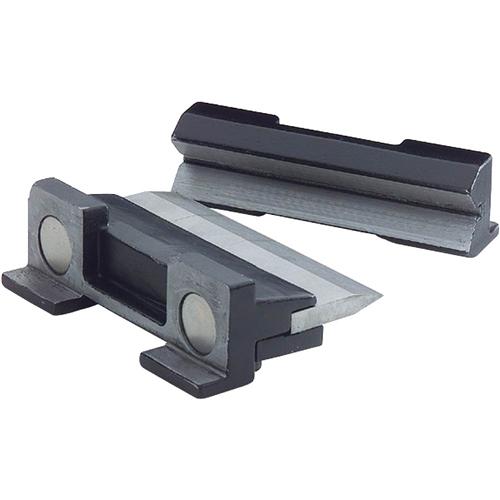 For greater precision, the right tool to use is a brake. The poor man’s version is a vise brake. The two pieces of the vise brake attach magnetically to opposite sides of a vise. You simply place the piece to be bent between the blade and the channel, and close the vise to give the desired angle. This gives a very clean bend.